Difficulty: Advanced technique
Similar Turorial: CaSTable ceiling slope for attic rooms; technique of both tutorials can be combined
German version – Tutorial: Tapezierbare Dachschrägen für Lufträume bis in den Dachfirst
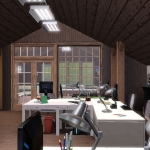
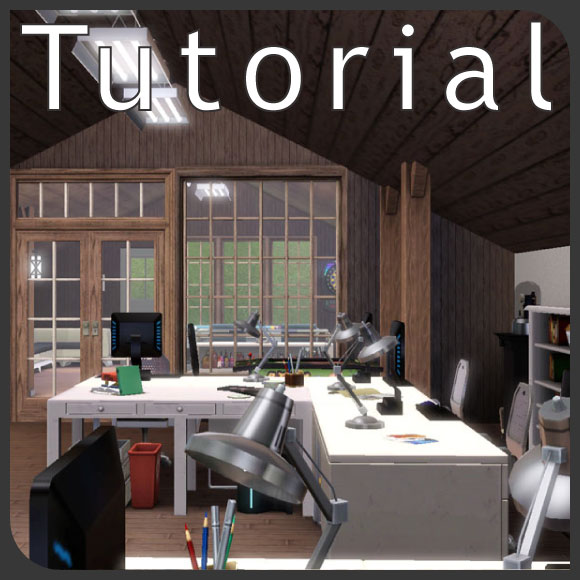
Do you want to give your home a very special look by opening the ceiling all the way up into the roof ridge? You can accomplish this without any download. The ceiling slope will be CaSTable - feel free to give it any view you like!
1. Calculations
To get a sharp angle at the top of an evenly sloped ceiling, your room needs to be an even number of tiles wide. If you choose an uneven width you will get a flat part in the center of the ceiling or slopes with different length.
Sloping the whole ceiling involves a quantity of tiles to be sloped. Raising all those tiles up easily results in unwanted high roofs. Therefore I prefer using clicks with the terrain tool > raise terrain instead of steps to measure the change of altitude over the slope length. Clicks allow smaller subdevisions than 2-steps measurement.
One or two clicks slope the ceiling softly, three or four clicks result in a decent slope. It needs some experience to find a good height difference matching the room width and wished room style.
For smaller buildings I recommend 2 clicks per tile, especially if you want smaller rooms on one side like kids rooms. Those get really high center walls with more clicks.
The maximun height of the slope is calculated by half width of the house multiplied with chosen difference of altitude.
2. Preparations
Build your house. Add floor on top of your sloped ceiling rooms to enable ceilings below: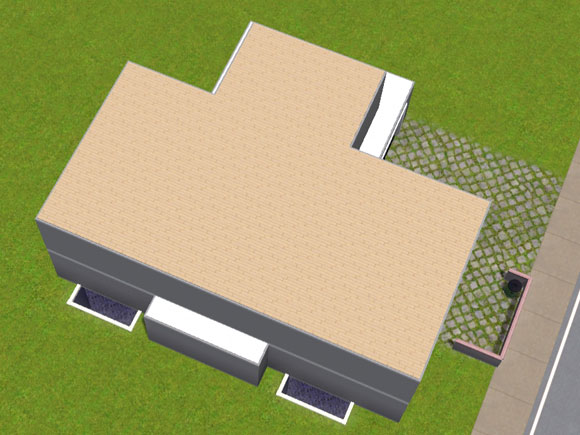
It is very important to put the floortiles before constructing the slope. Otherwise the ceiling slope won't show later and you won't be able to design your attic slope with the Create-a-Style-Tool.
Add a roof with the roof tool: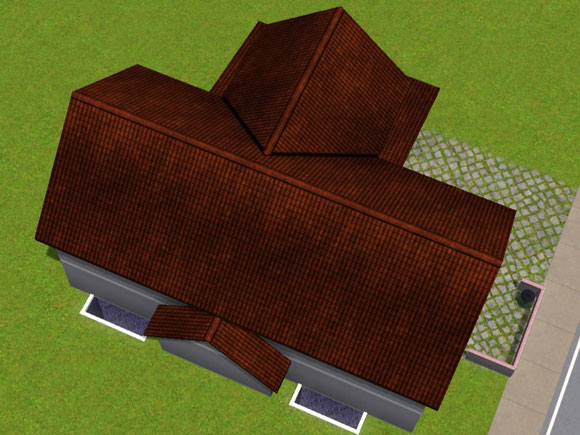
If you want to combine the technique of this tutorial with a flap tile (shortend outside wall), please read in Tutorial: CaSTable ceiling slope for attic rooms when to build the room.
3. Floor plan development
It's important to have all walls under later added slopes in place. They can be easily deleted but not added without constructing the whole slope again.
While developing the floor plan keep the position of your roof ridge in mind, wenn seperating rooms with walls.
I finished my floor plan. I am going to build the slopes only above the main part of the house: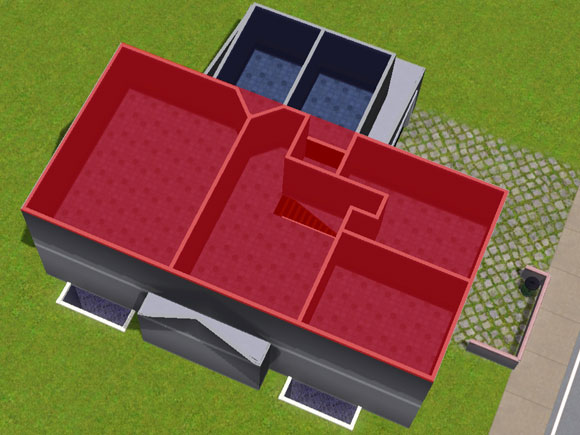
4. Determine the room hight
First I will raise the whole upper level to the highest point of the slope. I built an 8 tiles wide house and wish a change of altitude of 2 click: This gives me a maximum height of 8/2*2 = 8 clicks.
To raise the floor, click with the terrain tool > raise terrain with short hits on the left mouse button. The tool is very sensitive and may occasionally give to much hight with one click. If you feel it did, undo this click and try again.
Build construction walls on the raised terrain. Enter the cheat constrainfloorelevation false into your cheat console and use the terrain tool > level terrain to transfer the hight onto your house: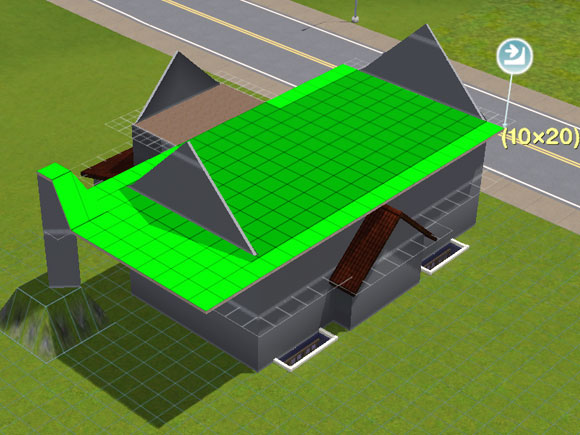
As a result the floor is elevated and the roof partly sunken into the floor: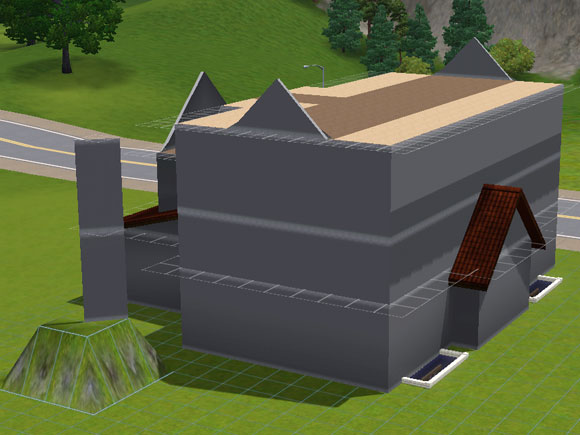
4. Constructing the slopes
The construction of this kind of slopes differs from short ceiling slopes for attic rooms: They need to be build from the center of the house working our way step by step to the outer walls.
Next I lower the raised terrain and with it the construction wall with two clicks. To be able to leave out the center bit by bit I expand the construction wall to cover the whole width of the house. Using a diagonal piece of wall at the end gives me an even construction grid tile without further steps.
Using the terrain tool > level terrain with the cheat constrainfloorelevation false still active, I transfer the new hight from the outer ends of the construction wall to the house, leaving out the center: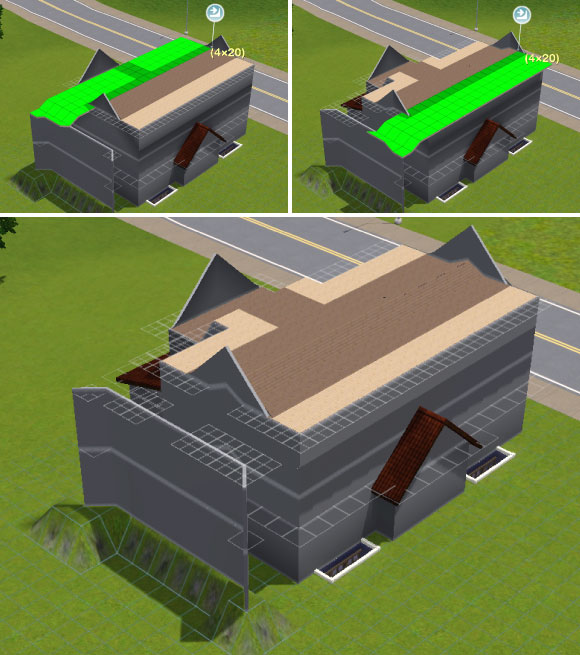
Now follow repetitions - lower terrain, level out the construction walls first: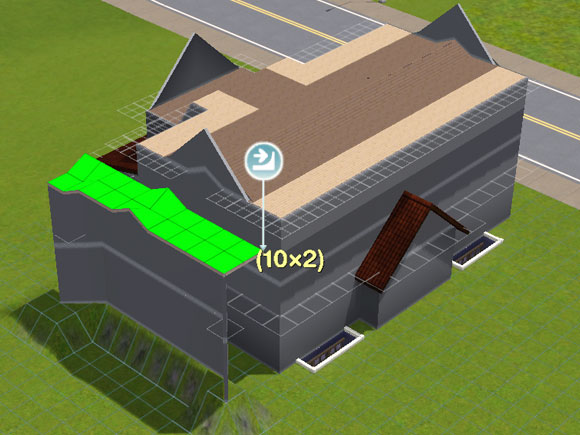
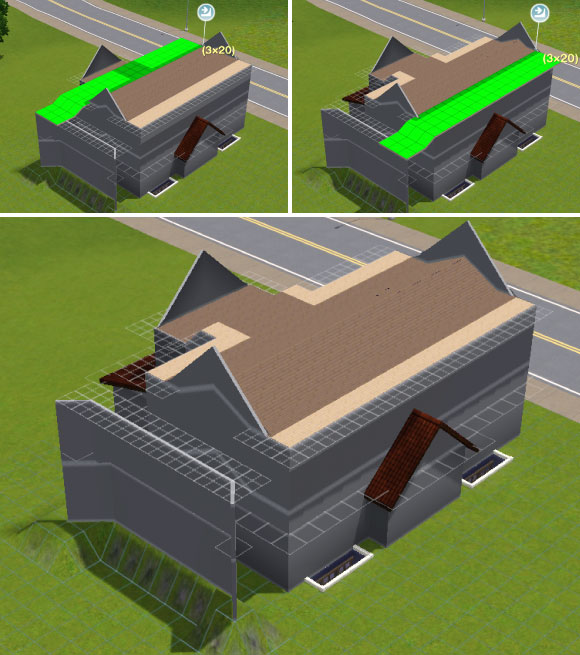
Transfering the new heights to the house, moving outwards:
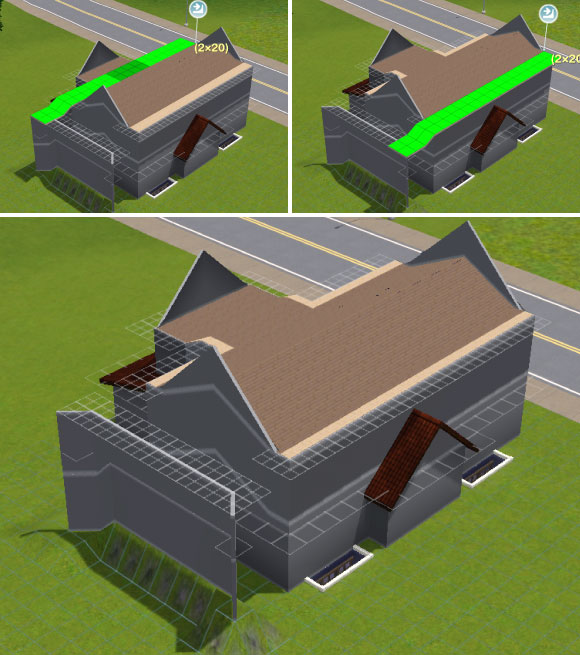
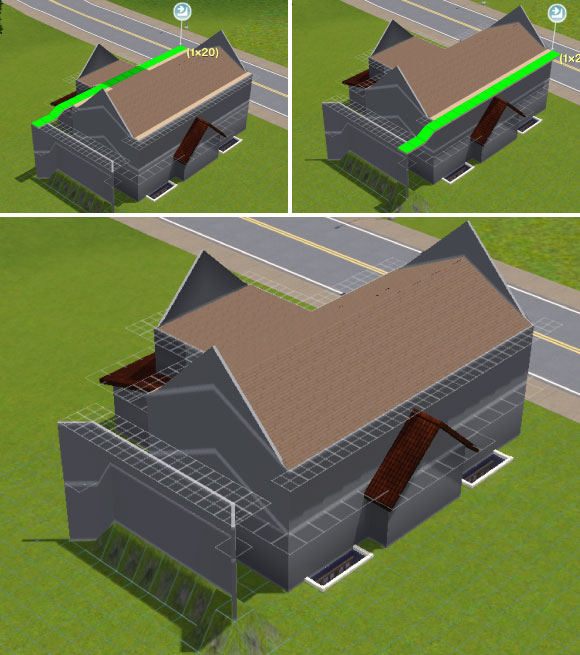
Adapting the roof pitch to the slope
If you like you can adapt the roof pitch to the slope using the roof tools: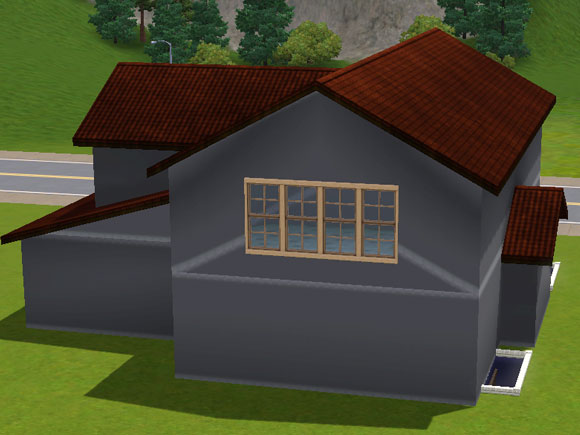
6. Making the roof slope visible from inside
Bringing you camera into the room shows you complete destruction - the sloped ceiling is totally invisible: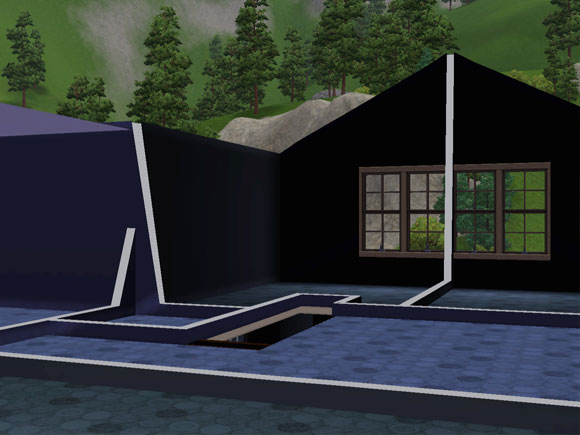
Don't worry - we are going to change this immediately! Just choose a floor tile - any - you will be able to change it at any time. Push the ctrl-key on your keyboard and just hover with your mouse over the ceiling. This will make the sloped ceiling instantly visible. Pushed ctrl-key let's you decorate the complete ceiling of a room with one leftclick, same as with the floor.: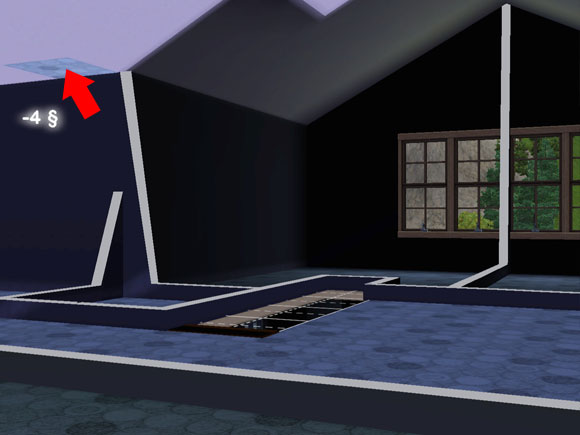
7. Giving your sloped ceiling a unique design
Sloped ceiling parts cannot be clicked with the Creat-a-style tool. Place a floor tile outside the house instead and style it there. Pick it up afterwards with the eyedropper tool and use it on the slopes. Keep the outside tile as long as you need for adjustments, because you can't pick it up from the slopes with the eyedropper tool either.
Here you can find more detailed information about how to design the slopes - e.g. how to design parts different or when switching to constrainfloorelevation true is neccessary.
Finished ceiling:
Examples for the usage of rooms with sloped ceilings
It's your turn!
You have questions or suggestions? Please leave us a comment – no registration needed!
We'd like to ask you for your star vote!
More The Sims 3 Tutorials
- seasonal lot marker
- rabbithole design
- rip open basements
- CaSTable ceiling slope | airy rooms
- CaSTable ceiling slope | attic rooms
- outside stairs with walls beneath
- hill side | hovering building
- hill side | building into slope
- pergola
- routable pavilion
- add public picnic
- chaging community lots | live mode


